3 Minutes to Become a 3D Printing Glue Expert
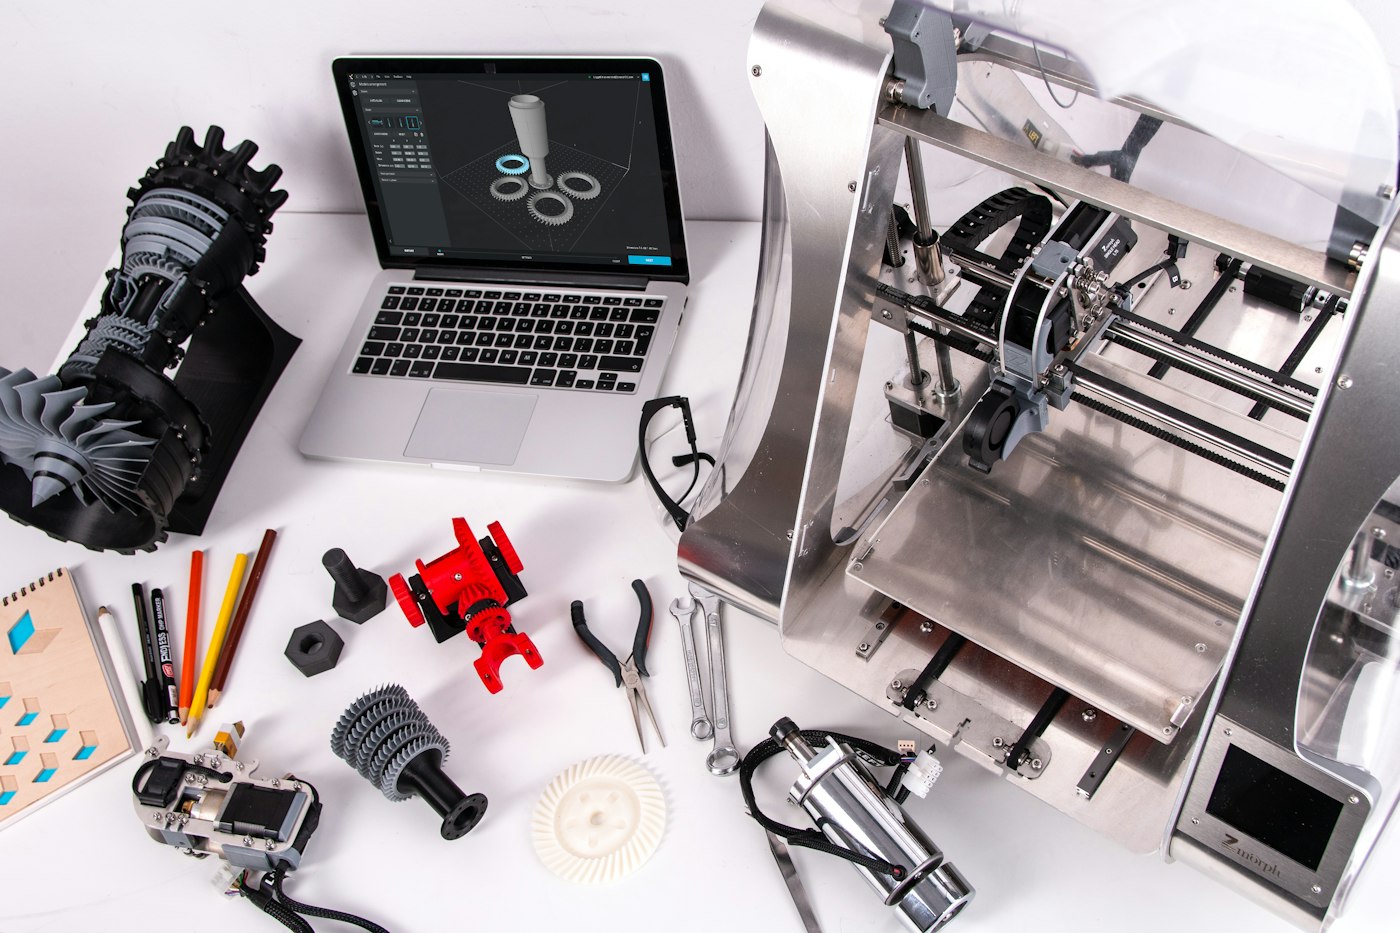
You spent 40 hours printing, sanding, priming, and painting. It looks perfect. Now you just need to glue those two halves together.
Ten seconds later, glue is oozing out of every seam. Your fingers are stuck to the part. And when you finally wrestle it apart to try again, there's a ghost of dried CA glue where the surface used to be flawless.
Sound familiar?
The problem isn't your hands. It's that most people reach for the same tube of super glue for every job — and in 3D printing, one glue absolutely does not fit all. Different materials, different stress loads, and different post-processing requirements each demand a specific adhesive strategy.
Here's a three-minute crash course on exactly which glue to use, and when.
Scenario 1: Bonding Printed Parts to Printed Parts (Same Material)
This is the most common scenario. You printed an articulated figure in four pieces. Or a helmet in two halves. Or a mechanical assembly with separate components. Now you need to weld them into one solid object.
For FDM Prints (PLA, ABS, PETG)
CA glue (super glue / cyanoacrylate) is the default choice — and with good reason. It sets in seconds, bonds strongly to most thermoplastics, and is widely available. But it has a real weakness: CA glue is brittle. Drop the part on a hard floor, and the glued seam will crack before the surrounding material does. It's fine for display pieces. Risky for anything that sees actual handling.
Epoxy resin (two-part) is the opposite approach. Mix the resin and hardener, apply, clamp, and wait 12-24 hours for full cure. The bond is extremely strong and more impact-resistant than CA glue. But it's slow, messy, and overkill for most non-structural joints.
Solvent welding is the professional's choice. For PLA, dichloromethane (DCM) — also sold as "PLA weld" or "model glue" — chemically dissolves the surface layer of both parts, then re-solidifies as one continuous piece.
The bond strength approaches that of the original material. For ABS, acetone does the same thing. Apply with a fine brush or syringe to the mating surfaces, press together for 10-15 seconds, and you've essentially created a single monolithic part.
Here's a trick that changes everything: use the same UV resin as glue.
Apply a thin coat of uncured UV resin to both mating surfaces. Press them together. Then hit the seam with a UV flashlight for 60-90 seconds. The resin cures, fusing the two pieces together with the exact same material properties as the print itself.
The result is a bond that's chemically identical to the surrounding material — it sands, paints, and weathers exactly the same. No visible seam line. No differential shrinkage.
This is a game-changer for anyone finishing detailed resin prints like miniatures, jewelry, or display-grade prototypes.
Scenario 2: Bonding Printed Parts to Non-Printed Materials (Metal, Wood, Glass)
This is where things get trickier. The problem isn't adhesion at the moment of gluing — it's differential thermal expansion.
In a warm car or direct sunlight, a metal part expands faster and further than a plastic one. Over time, that differential stress will shear most rigid adhesives clean off. The cure isn't a stronger bond — it's a more flexible one.
Flexible epoxy resin (sometimes called "rubberized" or "toughened" epoxy) is the answer. It retains some elastic give after curing, allowing it to absorb thermal movement without losing grip. Brands like JB Weld PlasticWeld or 3M DP420 fall into this category.
Before any bonding: rough the print surface with 80-120 grit sandpaper. A smooth print surface offers little mechanical grip, and adhesives rely on both chemical bonding and mechanical interlocking on rough surfaces. This single step can double your joint strength.
Scenario 3: Filling Seams & Surface Repair
You've glued two halves together. Now there's a hairline gap running the length of the seam. Or a sanding accident exposed a layer line. Or a support scar left a pockmark.
This isn't about glue — it's about gap-filling that can be post-processed to invisibility.
For resin prints: UV resin is the clear winner. Apply a small droplet into the gap or pit, cure with a UV light (3-5 seconds per spot), then sand smooth with 400→800→1200→2000 grit progression. The cured resin polishes to match the surrounding surface exactly. Under primer and paint, you won't find the seam.
For FDM prints (PLA/ABS): Two-part epoxy putty — the kind that comes as a stick of A+B material you knead together — is the best option. It cures to a sandable, paintable consistency in 30-60 minutes. Apply slightly overfilled, let cure, then sand flush. For very small gaps, you can also use standard wood filler (Bondo or similar), which sands beautifully but doesn't bond as strongly.
Filler Type
Cure Time
Sandable?
Best For
UV resin
Instant (with UV)
✅ Excellent
Resin print seam repair
Epoxy putty
30-60 min
✅ Good
FDM gap filling, larger pits
Wood filler (Bondo)
15-30 min
✅ Excellent
Cosmetic-only patches
Scenario 4: Structural / Load-Bearing Joints
Sometimes glue isn't going to cut it.
For parts that experience repeated stress — articulating joints, snap-fit mechanisms, load-bearing brackets — the correct answer is almost always: don't rely on glue at all. Design it as a single piece.
If that's not possible (print bed size limitations, complex geometry requiring assembly), then:
Industrial acrylic structural adhesive (like 3M DP420 or Loctite AA 4800) offers shear strength exceeding 20 MPa — enough to hold automotive components together. But it's expensive and usually requires a special applicator gun.
Threaded inserts + mechanical fasteners are the smarter approach. Design holes for brass heat-set inserts (for PLA/ABS) or threaded inserts (for resin), then use machine screws for assembly. This gives you a joint that's fully disassemblable and far stronger than any adhesive could provide.
Five Underrated "Glues" in the 3D Printing World
These aren't technically adhesives, but they deserve a spot in every maker's toolkit:
① Dichloromethane (DCM / methylene chloride) — Solvent welding for PLA. Cheap, effective, but highly toxic — only use with proper ventilation and nitrile gloves. Apply with a precision syringe to mating surfaces.
② UV resin (uncured) — Not just for printing. Keep a small bottle of translucent UV resin and a UV flashlight in your post-processing kit. It's the single most versatile repair medium for resin prints.
③ Acetone — The solvent welding standard for ABS. Also useful for vapor smoothing ABS prints to a glossy, layer-line-free finish — though this changes dimensional tolerances, so use only for aesthetic parts.
④ Hot glue — Not for load-bearing or precision work, but for temporary fixturing, it's unbeatable. And it's reversible: a quick blast with a heat gun, and it peels away cleanly. Great for holding parts in position while permanent adhesive cures.
⑤ Cyanoacrylate + activator spray — If you must use CA glue, use an accelerator spray. It cures the glue instantly, reducing the window for oozing, finger-sticking, or misalignment. Apply glue, spray accelerator, and the bond is set in 2 seconds flat.
The Pro's Approach: Design Out the Glue
Here's the truth that separates an experienced 3D printing service from a hobbyist:
The best joint is the one you don't have to make.
Professional-grade small-batch manufacturing treats assembly as a design constraint, not a post-processing step. Snap-fit joints that click together and hold without any adhesive. Captive nut slots for mechanical fasteners. Print orientation optimized so that layer lines don't create stress weak points at joint locations. One-piece prints broken into puzzle-fit components that align precisely through geometry alone.
At Slashee, every custom 3D printing run — from collectible figures to functional prototypes to branded merchandise — goes through a full design-for-manufacturing (DFM) review before a single print starts. We identify which pieces should be combined into one seamless print, where to add alignment features, and when a part should be printed as a single unit rather than assembled later.
The result: parts that arrive ready to use, not ready to fix.